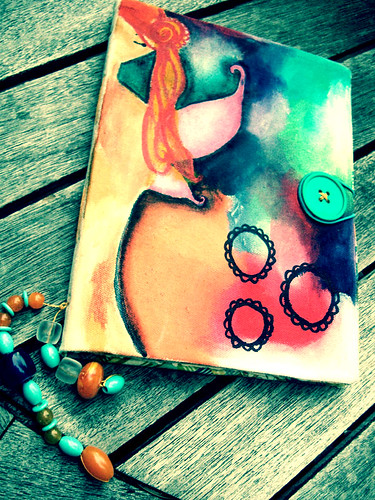
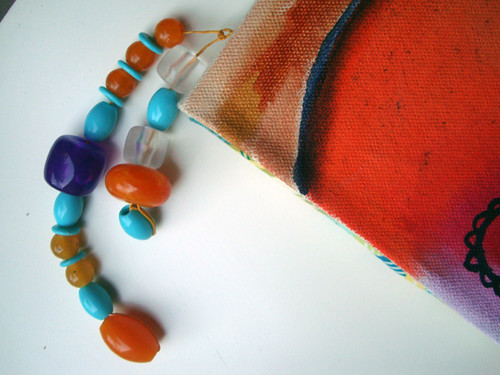
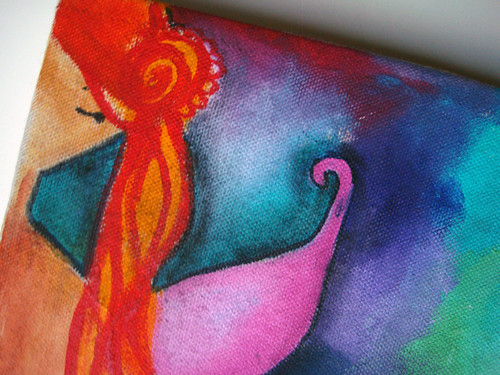
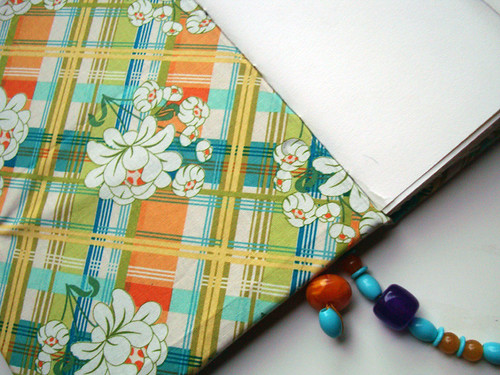
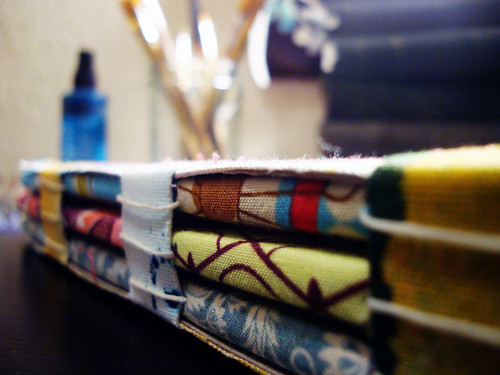
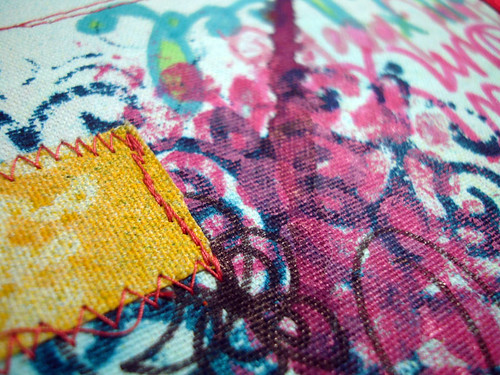
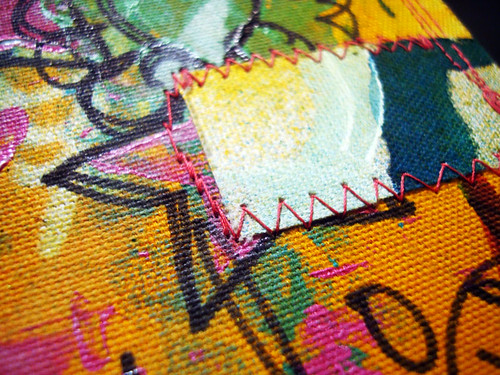
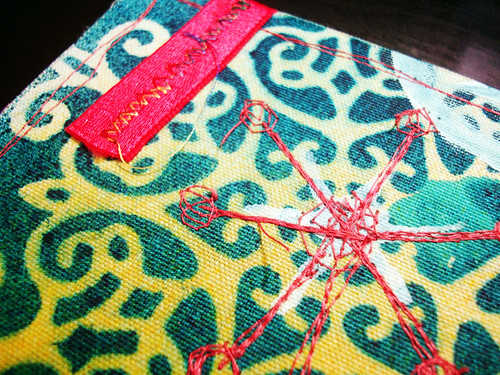
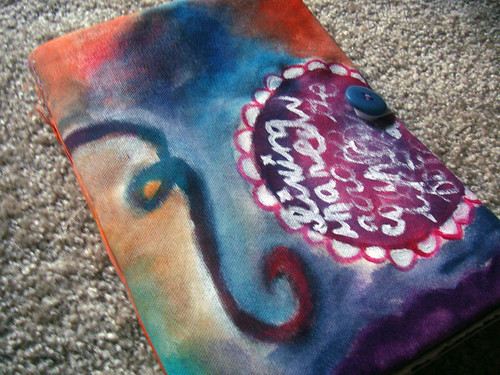
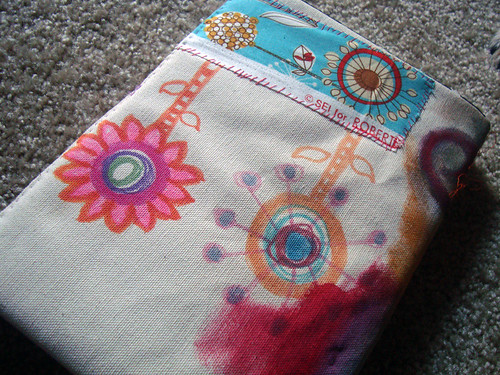
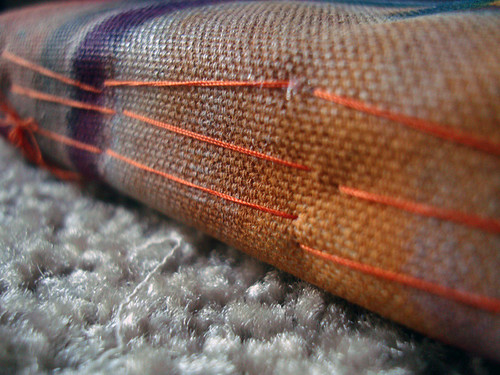
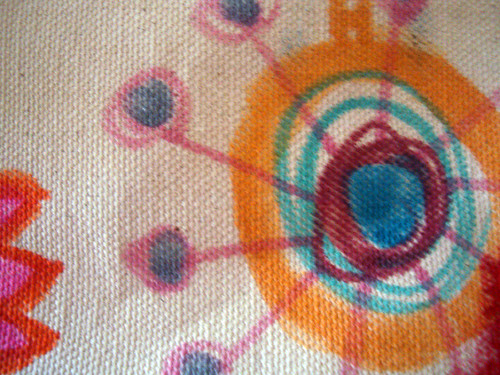
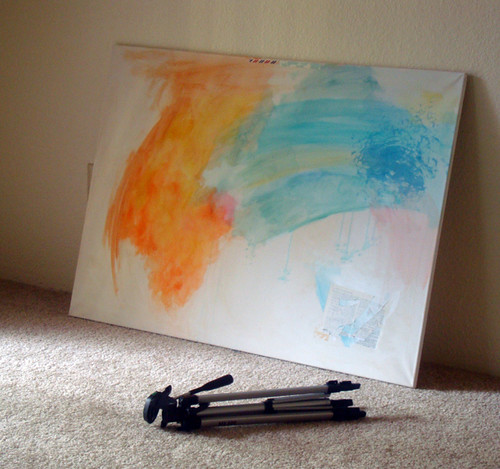
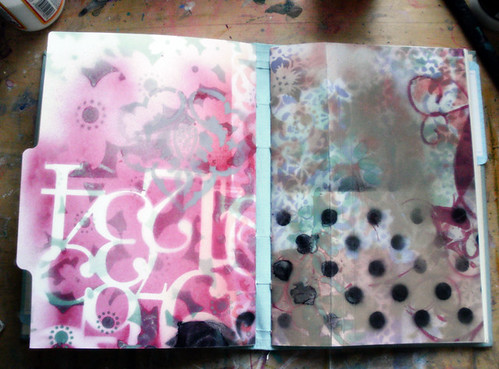
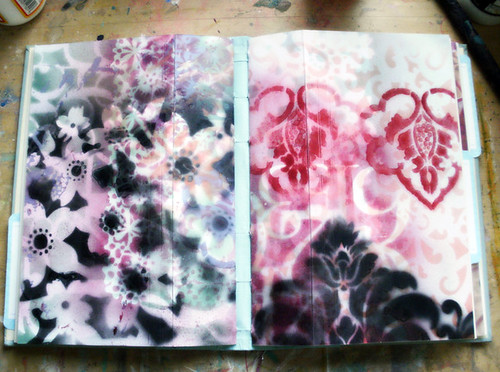
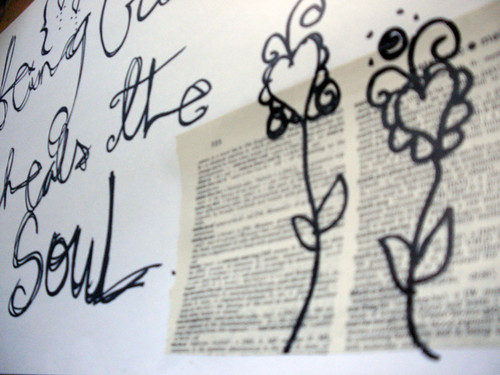
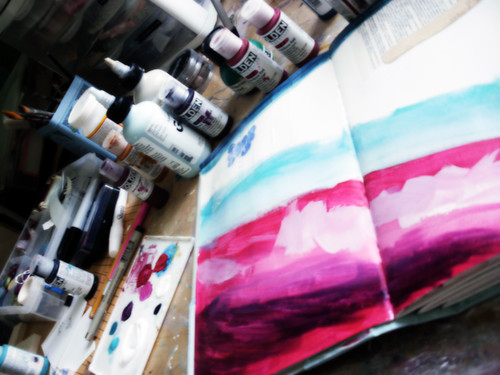
{shots around the studio}

{two finished journal orders waiting to be packed & shipped}

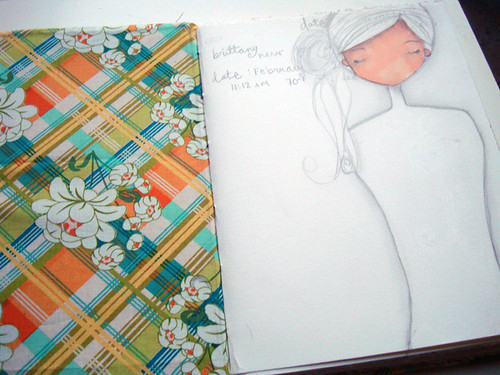
{a journal page; the fabric is a shape cut from some Amy Butler fabric I got on clearance}

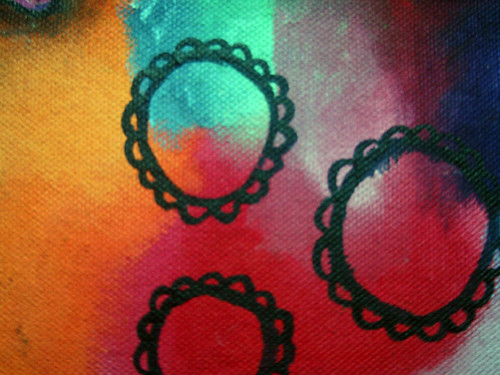
{journal page worked on with one of Krista's awesome foam Prima stamps}

{the other side of the spread with collaged bits}

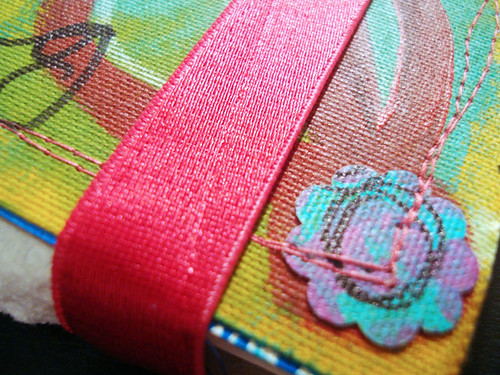
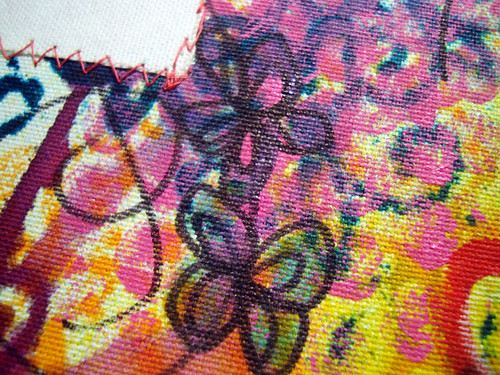
{piece of dyed muslin I stamped and stitched to a journal page with pearl cotton}

What is on your table today?

{a new journal-makin' mini-workshop!}


I've gotten requests to share my newest journal-binding creating, the soft, fabric-covered yet amazingly sturdy button journals I began creating last October.

So, in-between projects & deadlines, I created this little mini-workshop to walk you through the process. Hey -- instead of me typing all this, why don't you take a look?

I really, really am in love with these journals. I've made two already and just can't get over how much I love 'em! It's rare that I use the same kind of journal twice...maybe I've found my Journal Match Made in Heaven?

Head on over to the Shoppe to grab your log-in. You'll get an email 24-48 after signing up (I don't "work" on the weekends, so if you sign up then, you'll get your log-in on Monday).

And this is my first little class of the year -- and I'm rolling out a new feature: DVDs

Yep! You can sign up, get access to the web classroom, AND get a DVD and printed workbook sent to your house. How awesome is THAT?

Anyway, I'm gonna stop blabbing and leave you with pretty pictures!

(ps. workshop ticket holders will get an email today about snail mail addresses!)


{ideas swirling around in my head}

newjournal

Just call me a junkie.

Lately, it's all I can do to turn my brain off to finally get some sleep. There are all these ideas swirling around up there, stories meshed with things to make and experiments to try out and my fingers are just itching to get started, to make one, to see if the idea works or doesn't.

With my lovely cushy journal all finished and away, I needed something new. And so I stuck with what I know, what works, and made myself something that can try to contain everything in my head. I imagine it will soon look like a paint aisle threw up on a lab notebook, because with everything I want to do, am seeing myself do, well...let's just say I wasn't up at 2am reading -- I was trying to fix a flaw in a Wordpress install because, yes, half these ideas are being created just to share.

DSC03136

DSC03137

DSC03139

DSC03140

DSC03141

{creating a place of mystery, touch, and freedom - new journal for a new year!}

{touch} journal detail

A new journal for a new year!

I was showing this journal to a crafty neighbor last night, and found myself smiling at the imperfections. I said:

“If you had told me two years ago I’d be making journals that aren’t hardcovers or with pages that didn’t sit perfectly straight, I would have laughed. Now, I love journals that have character and color and are a bit messy.”

{touch} journal detail

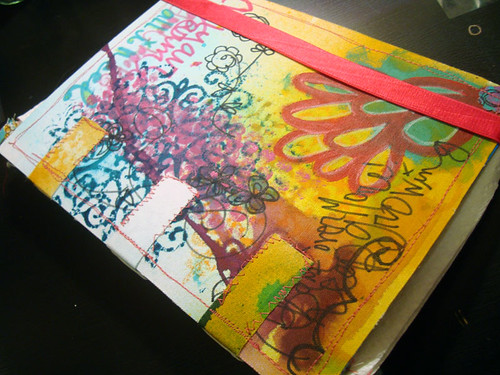
The cover is sticky-back canvas stuck to pieces of a Honey Nut Cherrios box I grabbed from the kitchen (and left the cereal in it’s plastic bag; I wasn’t going to wait for a box to be emptied normally!). I have to say, I LOVE sticky-back canvas! I’ve painted and played on it and it takes everything so wonderfully! I cut shapes from it with my Cuttlebug to add as accents (see the first image; the flower in the corner was die-cut!) and just keep finding new ways to play with this versatile and fun canvas.

{touch} journal detail

It’s bound with the revealed spine tape binding I first saw on Debra’s blog and learned from the book Creative Wildfire. Instead of using thicker fabric or the type of strapping used for bag straps, I used the left-over from the sticky-back, as my journal’s a bit smaller than 8.5”x11”. And where it crosses the fabric? I simply stuck some more canvas there so it isn’t sticky!

The signatures are made from two pieces of paper sewn together with fabric. This was so much fun, and gives a great jumping-off point on each page because there’s already some fabric sewn in! It also made the spine much thicker than the rest of the journal, giving room for more layers and three-dimensional objects and embellishments.

{touch} journal detail

However, the sticky wasn’t strong enough to keep the flaps attached to the covers, so I ran them through my sewing machine to give them a good, strong attachment to the covers with a messy zig-zag stitch.

I leave my free-style darning foot on my machine most of the time, since I’m now in love with imperfection and mess, and only need straight lines for smaller pieces and quilting.

{touch} journal detail

The front and back covers are both equally funky and fun. This type of binding, since I used fabric at the folds, isn’t perfect. It moves around. Pages aren’t square at times. But I really do love it!

With the thinner covers, it’s pliable. I used to thick you needed hard covers in order to have a good working surface, but have since learned that the grouping of pages plus flexible covers give you just as much stability as a hard cover made with book board. Plus, I just love how it feels in my hands — like a traveler’s journal or leather sketchbook ready to be filled and held.

{touch} journal detail

I did a bit of free-style stitching, but noticed it made the cover weaker. It still looks cool, though!

Since pages curl when you work on them, I sewed on some bright magenta elastic as a closure, sewing it to the back cover with a zig-zag stitch (I did three passes to make sure it stays!).

{touch} journal detail

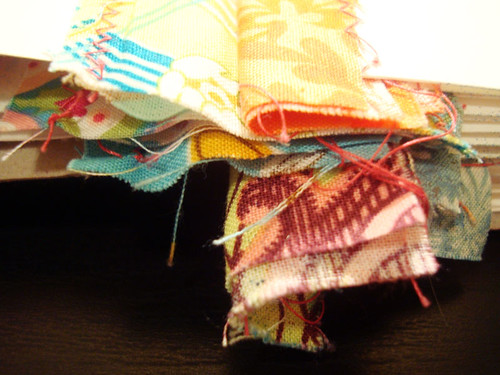
And instead of trimming everything up, I left the fabrics at their original, by-eye lengths. They hang off the top and bottom in a colorful mess of pattern...

{touch} journal

This journal is so tactile. You feel the canvas on the cover, the pages inside, the fabric hanging out. It loves to be held and carried and worked in. And since I altered my messenger bag, it now has an artful place to call home.

the first page of the new year...

She sits just inside the front cover, dreaming, thinking, being.

A new journal for new dreams and thoughts and words and experiments as I continue on this new, odd, wonderful artistic painting journey I stumbled onto four months ago.

{the experiments book #4 - creative journal covers}

Peek over my shoulder as I finish up playing & sewing up covers for my new journal. All you need is your art supplies, sticky-back canvas, and a cereal box.

The Experiments Book is my Tuesday vlog series where you are invited into my studio to take a seat and play along as I create, stitch, paint, bind, & generally have fun!


(I finished editing this last night, and fell asleep as the program was exporting the video. Sometimes, this happens, especially to me! )

{snuggled in a cocoon of art}

Oct/Nov Journal - detail 1

I feel as though I’m snuggled in a cocoon.

In our new apartment, I can only access the internet in the living room (as I forgot the wireless router back in Illinois), so my time online has been cut down drastically. On my magically fixed netbook, sitting in the double chair, purse and supplies next to me, painting in the dim light from a stained glass lamp.

We’re still sharing a bed. Two dogs, two women, one full-size bed. My bedroom holds what supplies I managed to fit in the trailer dragged 1,800 miles behind our car: a table, paints, stamps, large paintings for the walls. The closet here is huge and more than enough room for a creative gal!

I’ve been writing a lot. Long, thoughtful entries in a written journal deepened from reading Journal of a Solitude while crossing the country. In the morning, I sit at my desk, open my journal, and write. I love it -- I am back to the place I started from, where addresses and notes share the same space as doodles, art, and thought spun into sentences.

Oct/Nov Journal - front view

And then I got an idea: what if I made my own soft-covered journal, but with a quilted, painted cover? What if I added a bit of batting over thin cardstock and kept it all closed with a button? What, then?

Of everything put on the driveway to be packed, only my sewing machine remained. And remains, back in Chicago, along with my iron and waxed linen thread.

How do you create such a journal without these things?

My fingers are pricked, sore. My measurements off, adjusted near the end. My pages sewn in with orange sewing thread from the bottom of my sewing box. But I love it.

Oct/Nov Journal - inside the front cover

I love the abstract way I painted on the front cover and can’t wait to explore that more on this journal’s pages.

Oct/Nov Journal - back view

I love the upside down flowers on the back, the original front of the journal.

Oct/Nov Journal - spine view

I love the uneven stitches along the final edge, sewn together last.

Oct/Nov Journal - Detail 3

I love the pages, a paper I’ve never used before.

Oct/Nov Journal - Detail 2

I love the spark of inspiration, of raw possibility in the air.

morning sunlight

I was suddenly inspired to work on another large canvas. This one is 30”x40”. I worked on it and love how the watercolors react with this Yes! canvas. I don’t know where it’s going. So it will say hello to me every morning, and one day, I’ll say hi back with the swish of a brush.

{in between my mind leaking out my ears...}

Wow. My brain has been eaten by this new workshop I'm putting together; everything's been either in my head or scribbled as notes for the last few weeks, and now I'm collating it all into written lessons and resources and samples. It's a lot of work!

So I created a new journal to work on samples and later film in, and totally went all out and made it messy and fun.

class journal cover

The covers are from a vintage book I picked up at a thrift store a week ago.

inside the class journal


inside the class journal

Each of the signatures are covered in file folders I layered and spray painted. Totally fun! And I just love how they look inside the covers...

impromptu hand-carved stamp

When I went into the studio this afternoon, I saw this buttery new block of handi-carve and just had to make something. And, yes, I've read that we're starting to over-do the hearts-with-wings image, but I just adore it. This one's actually based off the art of CLAMP, who had these kinds of wings in Card Captor Sakura, one of my favorite manga.

doodles...

Then, doodles for layered pages for endpapers in two new journals I'm binding for etsy.

working at the table...

Of course, I have to make pretty pages in it, so I got right to it, finishing the text edits and such for Week One's stuff (tomorrow, filming for it!). I don't usually work in spreads, but this journal is smaller than I usually work in, at least in the last few years, so spreads feel more natural.

new journaling class sample

I'll probably work on the pages individually, but it was fun to make this background. I know it may not make sense right now, but take the class, and you'll totally understand what's going on here!

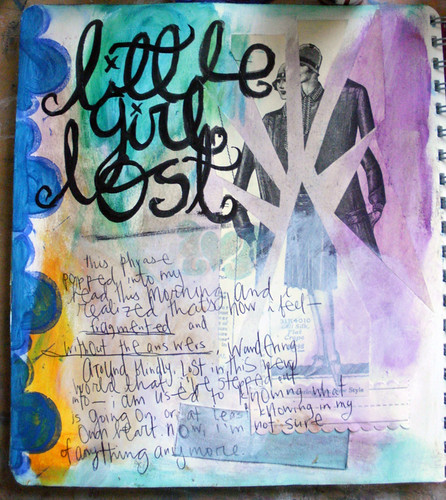
journal page -- little girl lost

And, of course, I had to journal for myself!

I know most of you don't know what's going on in my personal life, but it's pretty....all-consuming and difficult. I almost didn't post this page because of how much it says, or, rather, doesn't say, but I want to be true when I show myself.

When I got the vintage book for the journal above, I also happened upon a 1927 edition of the Sears Roebuck catalog -- for $1! I'm not huge on these images, but this girl seemed perfect to show how fragmented I feel. The facing page is even more personal, and for once, I'm not showing everything.

I don't have all the answers. It's hard to accept that fact.

Tomorrow -- live vlog! At 4pm central, as usual. Hope to see ya there!

{DIY Wednesday: wire-bound journals CAN be cool (and easy to make)}

So, I thought we’d take a break from Yudu adventures for a little tutorial I snapped photos for ages ago and promptly forgot. In fact, if it weren’t for iPhoto’s odd way of displaying things, I probably wouldn’t be writing this right now. Alas, technology wins again in it’s totally productive way of doing things. It makes my paper planner/to-do list feel inadequate. How do you make a notebook feel better?

Anyway, I shall write about it’s cousin, the spiral bound art journal. Spiral bound, you say? Why, that isn’t a book, and since it’s not a book, it’s not a true art journal.

Hey now! Anything can be an art journal. A memo pad can be an art journal. A stack of paper on your desk can be an art journal. A bunch of canvases or pieces of wood can be an art journal. It can be anything that you are a. comfortable working on, and b. fill with deep, personal things and sometimes write on (don’t get me started on the whole there’s-no-journaling argument).

Whoah. A loose piece of art journal just launched itself out of happiness at me from the cork board across the room. That is how happy art journals are when you just let them be what they want (are).

Are we clear on all this? Good.

Spiral ones used to make my skin itch, but now I’m an addict. Which usually happens with anything you become addicted to. Like TV shows for me. I’ll like it, but then, after watching it for awhile, I love it. And obsess about it. Which is why I don’t make my LiveJournal account public here. It would probably scare you. I think this week is all about Peter & Olivia on Fringe (OTP!). Yup. Nothing interesting there. Move along.

Have I mentioned your art journal can be digital? Totally.

Spirals are great if you’re like me and don’t really do spreads. I love love doing larger one-page journal pages. This is something I simply grew into as my journaling and art evolved, and then I decided to play with a spiral format as it was something I hadn’t done before, and that is so important when you’re trying to find yourself and express yourself authentically. Not just journal format, but anything -- try things you haven’t because they scare you. You might just be surprised!

Now, I know most of you don’t have a professional binding machine sitting on the table behind you. This is fine. Because the machine I use is the same one they use at Office Max or Staples or wherever you want to go. So this tutorial will work. If you happen to have one of those little ones that you use manually, awesome. This will also work, but you can use a thicker cover.

Yes, the cover. Now, these machines don’t have a very wide opening for the paper -- they’re made mostly for offices to make presentations, so they weren’t thinking that someone was going to bring in bookboard and want to get it punched. Tis cool. Most scrapbooking stores sell thicker stuff called chipboard. It can be really flimsy or really thick; my local store carries thicker stuff for making books or cutting out die-cut shapes. Try to find some that’s about the same thickness as those chipboard thingies you can get in the scrapbook aisle.

If you can’t, that’s cool, too. Instead of covering it with paper, try bookcloth or fabric. It’ll add to the strength without making it that much thicker.

When it comes to putting paper (or fabric) on these covers, I actually use spray adhesive. Two reasons. A. it is so much easier to get an even coat of glue across the entire surface. B. It won’t make the board bow (get curly-like) as badly. Don’t worry, folks, I’ve done the trial and error for you. I’m just that awesome.

Cut the paper or fabric you’re gonna be using about two inches bigger on all four sides than the cover (and this cover can be any size). Place it face DOWN on your protected surface. You can see I’m ultra high-tech with newspaper. Worked for me doing pumpkins and eggs as a child, so it’ll work here.

Spray down your cover. Turn it over and place it on your paper. Turn it over and use a bone folder or the handle of your scissors to smooth your paper (or fabric!) down real nice.

Now, turn it back over (so the pretty side is on the table -- extra newspaper works here so you’re not putting it down on run-off adhesive. this is no good and will make things very frustrating) and put a bit of adhesive on the two extra inches.

For this part, you’ve kinda gotta look at the pictures. You want to fold your corners in and I really can’t think of a way to explain this with words. Here is a pretty easy way to do it. Or you can fold them in. Then just fold over the cover on all sides.

You probably want to hide the folded-over edges, right? Cut down a pretty piece of paper so it's about an inch and a half smaller on all sides than the cover, and glue that in with some spray adhesive, too!

I suggest putting your completed covers under something heavy, like a subwoofer sitting in your garage, or textbooks you barely used in college. Stuff like that.

Paper for the inside, just cut it down. It can be varied sizes or all the same, but keep it relatively simple -- you don’t want to make the poor, under-paid office supply store worker cry, got me?

Seeing as you’re taking it to someone to bind it, you can just sandwich your paper between the two lovely covers and hand it over to the person behind the counter after telling them to be careful with your pretty pretty.

If you’re NOT, get this -- you need to “flip” the back cover around to sit on the front, so the pretty sides are together, then turn the whole thing over and THEN start threading through the wire. So, the prong-y side should be sticking out of the paper, and the wired-together side should be up against the cover. This is important, or else the place where the two meet will be funky and in the front, and we don’t want that!

Either way, you’ve got a nice, fun journal to play with.

PS -- the Wish Journal Workshop starts soon. Are you coming along to play with us?