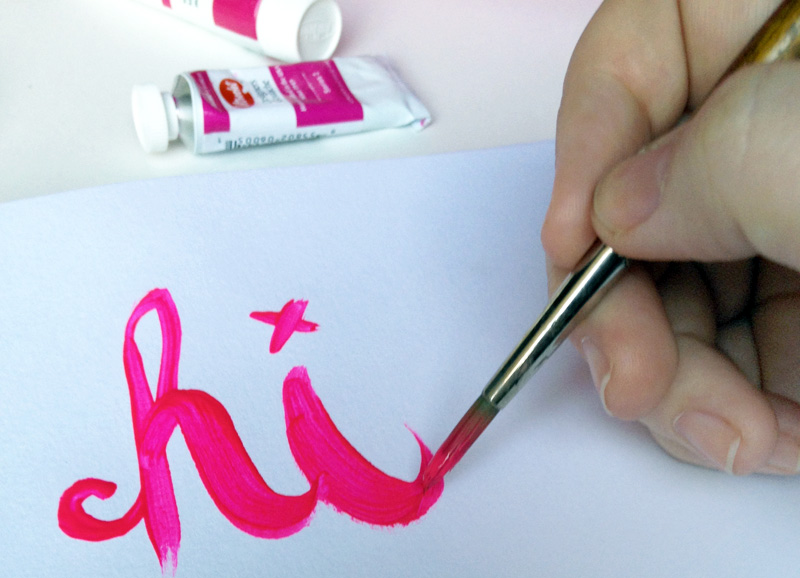
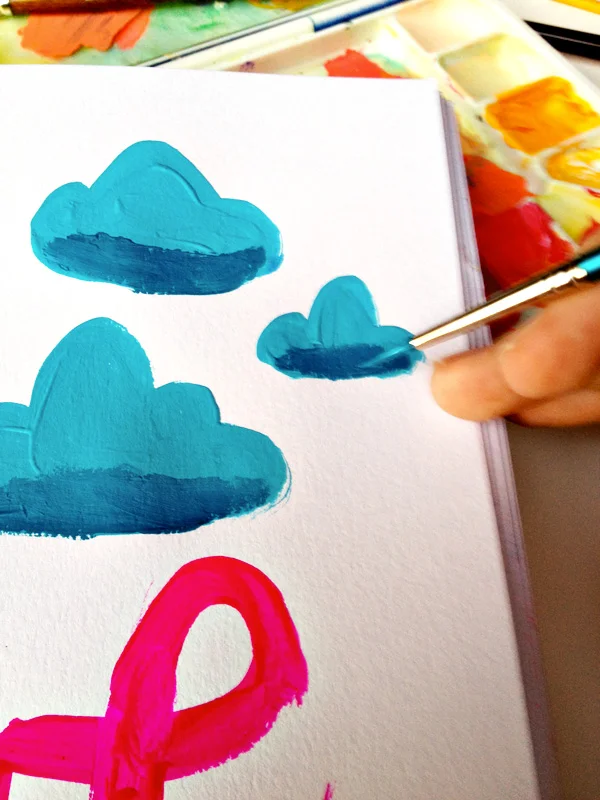
On Friday, we had open studio, watched 'Sherlock,' and made some art.
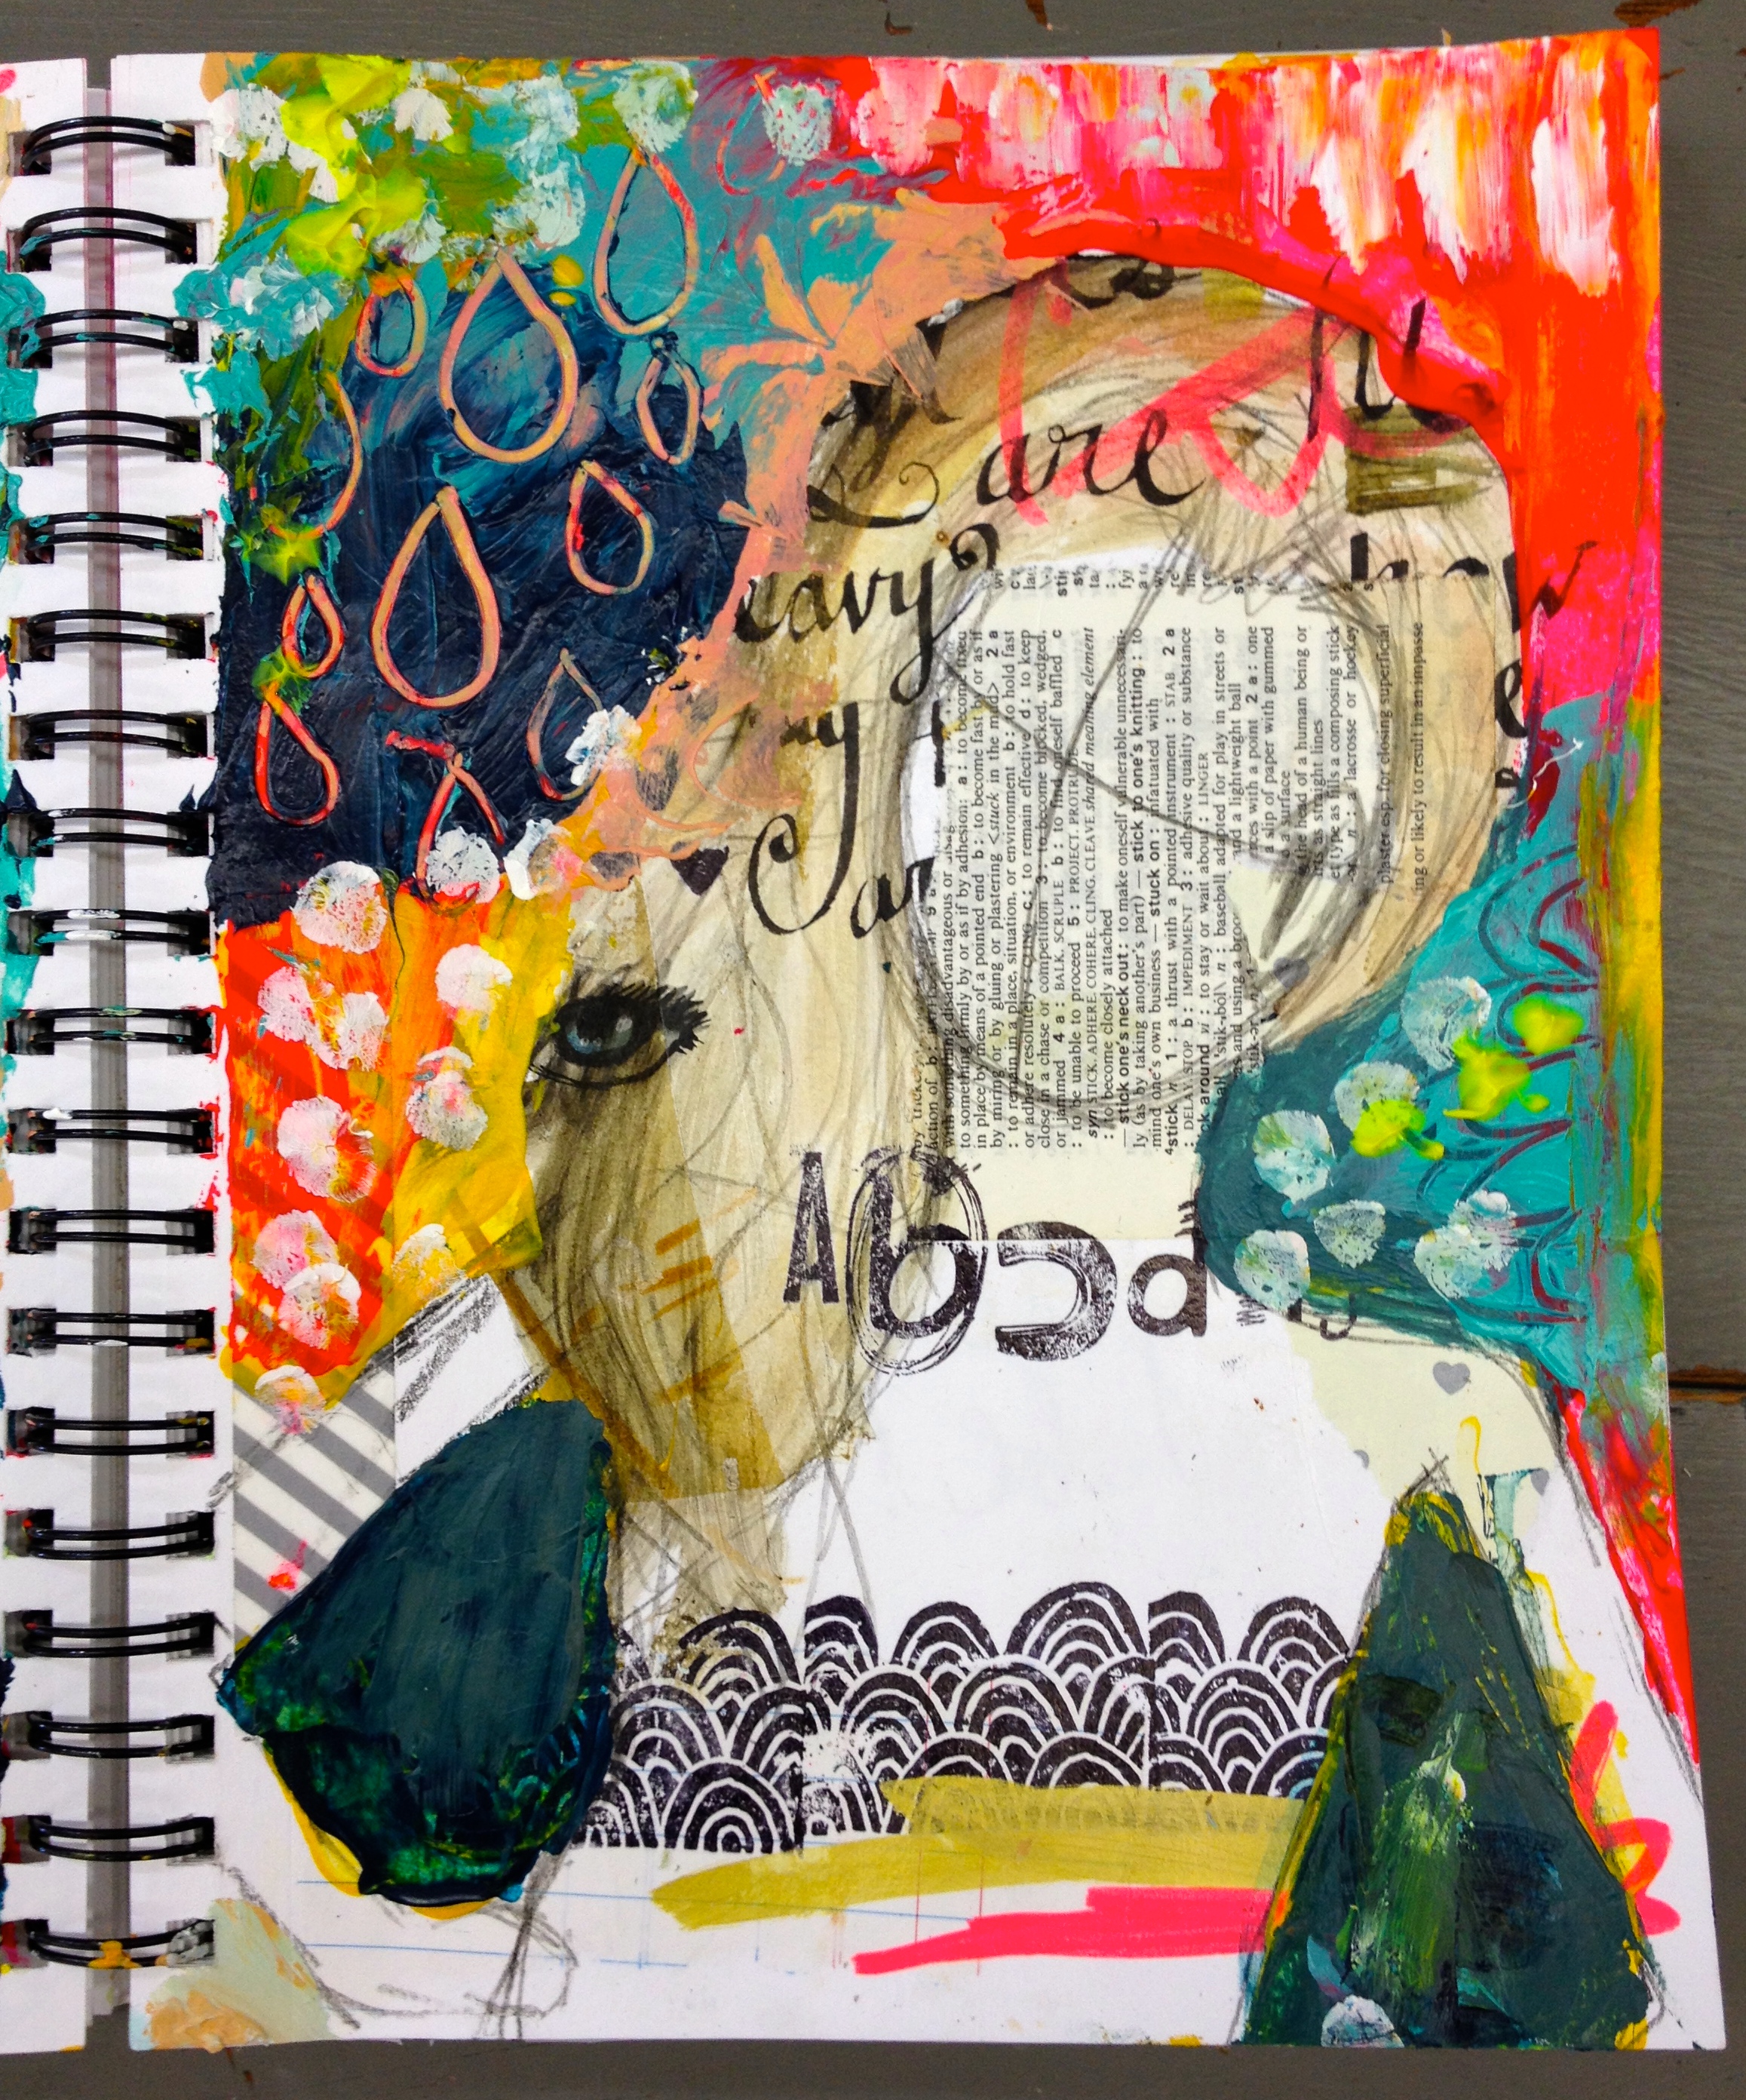
I had just posted these two giant pieces the day before and was considering a comment as I sat down to paint.
"One thing to keep in mind about not having a face is that sometimes it can be interpreted as the character not having an identity or not knowing her identity or maybe that the character is not in touch with herself or her feelings or something of that nature. This may or may not be your intention! I think somewhere in my art schooling an instructor pointed this out to me. Love your work!!! Roseanne"
Now, there's a lot I've learned from watching vids and reading books and experimenting, but one of the things I acutely miss is the wisdom from art teachers. I know art school is stressful, and there are things it can't teach, but I remember the first time I learned about what some of the old masters used red - I had no idea I could use a single color to convey so much.
Art is a universal language, and I'm sure we do many thing instinctively, but until I read this comment, I had never considered the lack of facial features to equal a lack of identity. And I LIKED getting this new information. I sat down and pondered what I had drawn and WHY, and WHAT I wanted to be saying, and was able to with a fresh pair of eyes.
I love LOVE being able to gain perspective on what I'm creating. That's one of the reasons I'm sharing so often these days...I feel like we can all teach one another, and the instantaneous nature of social media = perfect for this. (Also, know that I am open to any suggestions or observations you may have...I don't share things before I'm ready to hear what the Internet might say).
Anyway, this comment got me thinking. So I decided to try new things and push myself. Which was scary, since I loved both of these before I barreled forward. I may have made them worse, or better, but I can honestly say I dared.
That kinda feels like the lesson I'm emerged in right now.


(I couldn't help myself...that moon behind her is in silver leaf!)