This week, I decided to share one of the videos I did for my Gelli Plate Junk Journal e-class (which has been going swimmingly!).
Giant Art Photobomb GO!
Wow! Running an online class seems to grab all my attention; everything has been filmed, though, and last night, after 3.5 hours of working, we headed off for a good dinner of crab legs to celebrate.
I spent the day cleaning my patio, moving furniture, & putting up Halloween decorations. I'm not a huge fan of Halloween-y stuff (I know...surprising, right?), but for some reason, have felt the need to make the world around me festive, fun, & positive. Cleanliness and incense and pretty decorating!
(Keep reading; this is an art journal photobomb post!)
Okay, so I don't have very many decorations, but I did the best with what I have! I love those little pumpkin lights, even though they don't light up.
Now that things are nice and clean and moved, I can sit outside in the cool desert air and play in my journals. This weekend is for relaxation and filling the well; creating stories with drawings and paints and markers, doodling shapes and ships on the sea. Expressing all the uncertainty I feel.
I think, when we come out on the other side of something, a prolonged period of turbulence or illness in our lives, it's natural to question the lesson behind it. I've found myself writing my questions in my art journals, layers of colorful marker-scrawled words hidden under paint and collage.
blick matte acrylics, collage materials, prismacolor markers, gold oil pastel, signo white gel pen
distress stains, signo white gel pen
distress stains, gold acrylic paint, black craft paint, white signo gel pen
The rest of my time has been consumed with Gelli Printing!
For me, whenever I teach a class, I find myself uber-excited to share every little thing I know, & any waining passion is reignited; I have tried so many new things lately, and just adore re-exploring my gelli plate through the eyes of my students.
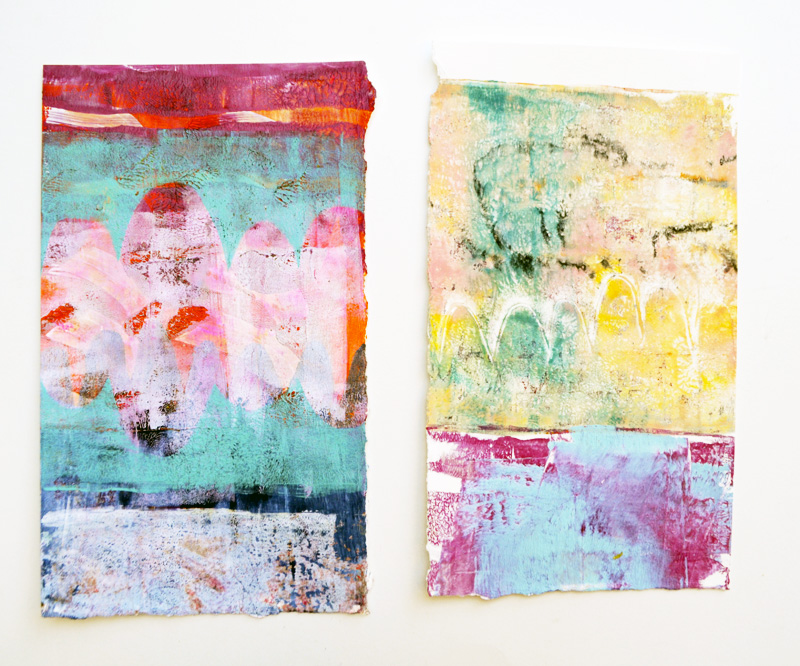
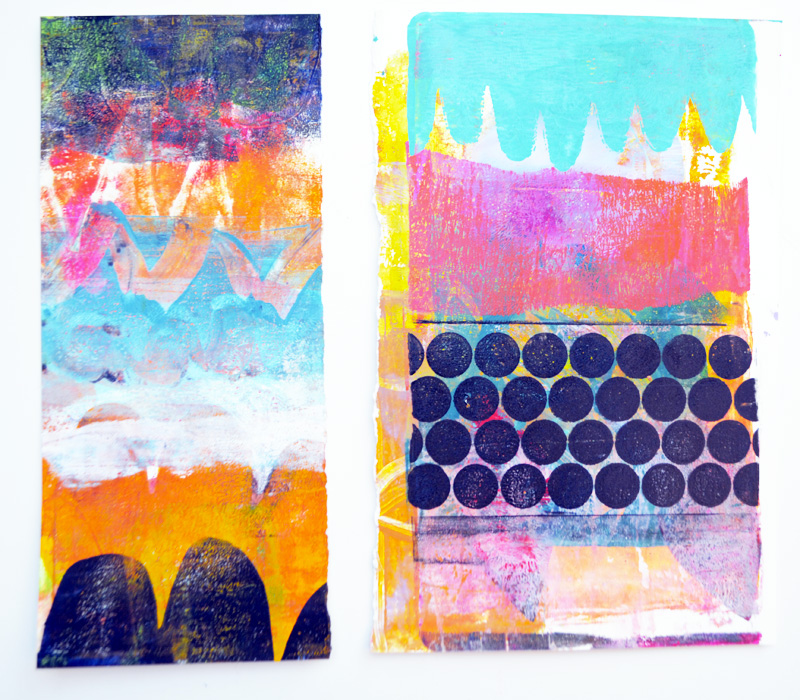
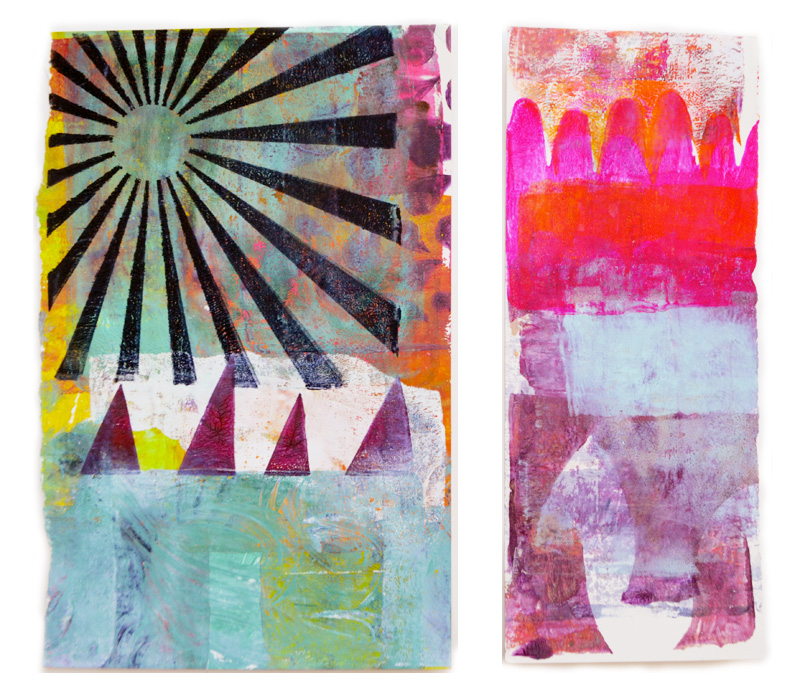
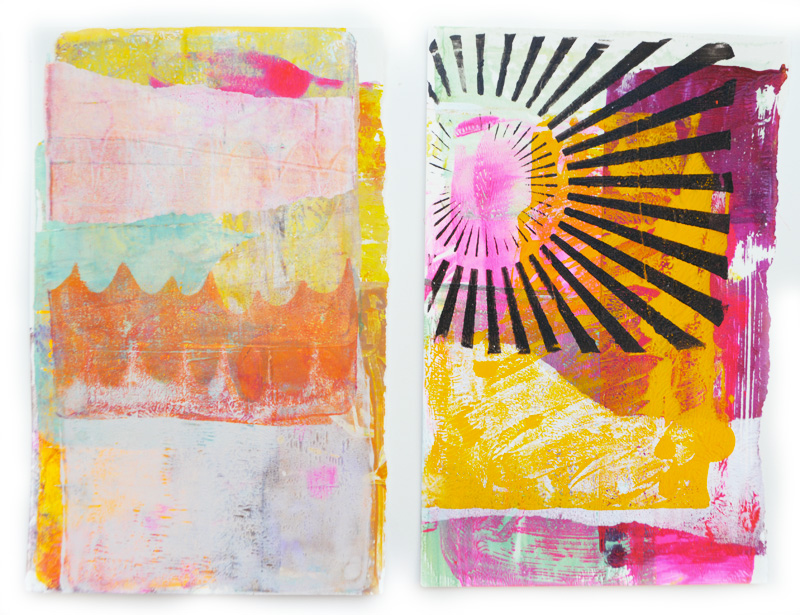
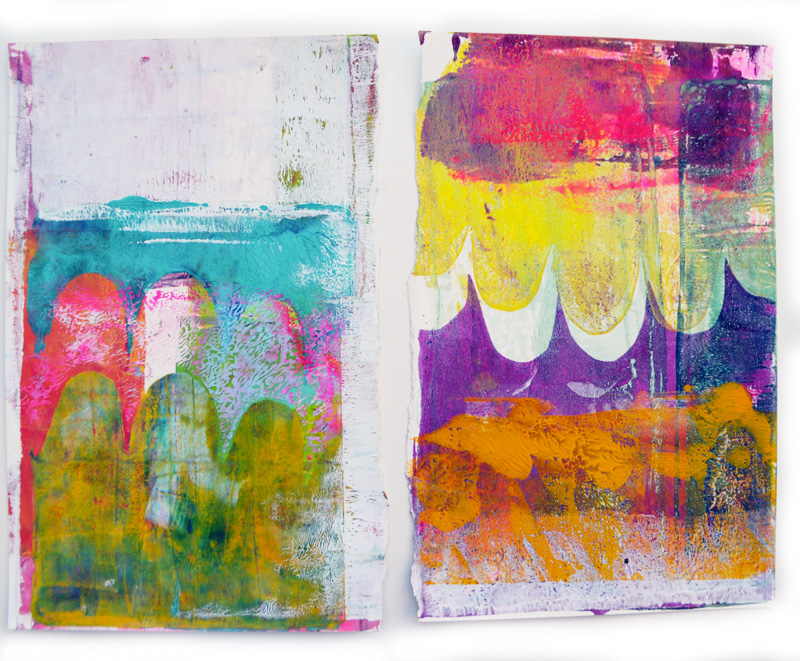
One of their favorite things is how I clean my plate. I originally learned this from Carla Sonheim and fell in love -- it's perfect for art journalers because the technique creates instant backgrounds to play on, and is so textured and full of color, I just love looking at them! How do you do it? Simply cover your plate with a layer of craft paint, put it down in your journal, and let it dry -- easy peasy! Here are some in my various journals...
Okay, this last one is a combination of techniques and an example from one of the lessons that I'm doodling on with the best pen in the world, the Pilot Permaball. Roben-Marie parted with one from her stash for me to try this discontinued pen. It write over ANYTHING and dries totally permanent. I adore it, but only pull it out when it'd be the best tool since I'll have to order more online when it runs out. Still...so, so nice! You can't get them in stores anymore, but can grab them at the Scarlet Lime shop.
The last thing I'm sharing today in this art photobomb is the junk journal I finished for the Gelli Print Junk Journal class. BTW, we're having SO MUCH FUN....after just a week, the girls are totally blown away and learning new things. I'm going to take my mother's advice and brag about myself for a moment by sharing a few things they've said:
Miriam C:
"I have seen tons of videos but your video from yesterday's class has refreshing new techniques I haven't seen before. I considered myself pretty proficient on the Gelli Plate but yesterday I learn tons of new things. And we are only in our first week of class. I am absolutely loving the class. If you are reading this post I would urge you to sign up for Samie Harding Gelli Plate ecourse."
Vickie P:
"Seriously, you changed my printing style for the better today as I worked. I learned more from you than I realized until I put it into practice! This class ROCKS! Thank you!"
Genevive C:
"I have watched countless Gelli printing YouTube videos, and I've already learned several new things. And I just received my round Gelli plate, so I'm definitely going to play with that."
I have been SO happy and encouraged by all they're saying and creating! I've really learned to hold space and share from my heart; I have learned I have so much to share in this life, and really need to get on doing so!
Phew! That was a lot of pictures! Photobomb DONE!
By the way, did you catch this week's episode of Journal Girl in the Studio? I reviewed Blick Matte Acrylics and played with them in my art journal.
While you go watch that, I'm going to head outside and play! It's beautiful outside and I just found neon Prismacolor markers -- OMG, they're gorgeous! But that's for another day!
Q&A about Gelli Print Junk Journal!
I've received a number of questions about my newest offering, so I thought I'd write everything up for you!
I wasn't going to open up sign-ups -- or post the full info page -- until October 1st, but everyone seems excited and ready to jump in...well, why not?
Q: Is this an online class or in-person?
A: Both!
I know this was a bit confusing...This is an online class . But! If you live near Mesa, Arizona, you can take it as a series of 2-hour classes at Artspiration Studio starting in November. I didn't want to leave all my lovely online readers out of the fun!
Q: When will this class start? How long will it be?
A: Class will run from Monday, October 21st thru Monday, November 11th, 2013, and I will be available and roaming the forums until mid-November.
Q: Why only three weeks? How much will we learn/how many videos will there be?
A: I learned, through my last e-class offering, that a shorter class is actually more fun! When classes run 6-8 weeks, life tends to get in the way, and we slowly fall behind.
I will post 2-3 videos every week, along with examples and a PDF handout. My videos are professionally produced, in top-notch HD. They will run 10-15 minutes each, so you can easily watch one before work/school/the day, or whenever you have a moment to sit down and get some inspiration. I run two cameras, so you can see directly onto my workspace, as well as see me as I explain a product, technique, or cheerlead for you as you go on this adventure!
Q: How long will we have access to the class?
A: You will have access for 2 years. You are also welcome to download the videos directly to your computer!
Q: What supplies will I need for this class?
A: You will need:
- A Gelli Arts Gel Plate OR home-made gelatin plate (you can easily find tutorials on YouTube or Google!)
- Acrylic Paint (craft paints work best, especially Martha Stewart brand) in at least yellow, blue, red, white, & black
- Watercolor paper (any kind will do; hot press is best but can be costly. grab some from the kid's section if you need a cheaper option!)
- Brayer
- Spray bottle
- Cardstock (for cutting stencils)
- Sewing machine (for stitchery), stapler, or other means of making patchwork paper (glue, thread, etc!)
We'll also be doing a bit of bookbinding. These are the basic supplies you should have on-hand:
- Bookbinding thread (you can also find this in the jewelry section of a craft store)
- Needle
- Scissors
- Ruler
- Bone folder (or use the handle of your scissors!)
- Awl
- Vintage/hardcover book
Q: What will you be covering in this class?
Here's what we're going to do in class:
- Learn my methods and techniques for gel printing
- Make hand-made stencils from recycled materials
- Play with print & pattern
- Stitch papers together for patchwork art
- Create signatures
- Learn bookbinding & use vintage books
This class will be run over on my Ning network, The Studio @ Journal Girl. You will need an account there to take this class . I will be sending out the invites a week before class is scheduled to begin .
And lastly: how much will this class cost?
Gelli Print Junk Journal will cost $80. And there are 5 spots left in at the Early-Bird price of $45. When those spots are filled, it will go up to the full price, so grab one now!
If you have any more questions, leave them in the comments below! This class promises to be a ton of fun -- my students in Art Journal Summer Camp had a blast and quickly filled up the forums with hundreds of replies, comments, & connection. They even organized their own swap! So this one, I know, will be even more fun than that! :)
Yummy Gelli Print Parade!
Yep, it's a yummy gelli print parade of artsy prints!
When I was staying with Roben-Marie, I showed her my new methods for making gelli prints that allows you to make more prints at once AND play around with home-made stencils, among other little secrets (keep reading!). We then took over her dining room table and played for hours , making so many prints, I came home with an overstuffed folder of colorful fun!
AND! Have you seen the current issue of Somerset Studio? I wrote a gelli print tutorial for you all!
Christen came up with the most cleaver title, didn't she?
I'm thinking of putting some of my more artsy prints, included a couple seen in this article, up on Etsy this weekend. :)
And now, here are the prints! They were done on 140lb hot press watercolor paper. It really does make all the difference when you're printing! I also want to mention that my pages were made with the 6"x6" small gelli plate. Don't think that you need a big one to make pretty prints...the small one is unique and tons of fun!
I have an awesome announcement for you all, especially if you love making prints or want to make some like mine...
A couple of months ago, some girlfriends and I were chatting about prints at an art journaling play date when one said she'd love to maybe make a journal....and I said, "I've done that! I love it!"
Then they told me I had to teach them.
I've been developing this class since then, and after I played with Roben-Marie (plus general soul-searching), I decided to turn it into an online class!
What I did on my summer vacation - ART (vid)
Happy Tuesday!
I'm about to fly back home, but wanted to share the art I did while on vacation. Lots of journal pages, gelli prints, and even some sewing! Check it out in the video below!
(Filmed with my iPhone...how amazing is that!)
Exploring the Desert Landscape with Gelli Prints!
A few weeks ago, I pulled out my last sheet of Arches hot press, my gelli plate, and some cardstock with which to make some new-temporary stencils.
My fundamental way of creating and composing gelli prints has changed; they're no longer layers of full-plate stencils, but pieces of art in and of themselves, another way to paint & and express myself. I was chatting with a friend about this idea, of taking gelli printing to another level, going further with them. Creating fine art, not just fun layers and papers to cut up for collage. It's so enjoyable, so fun to see what you can put together, once you get a composition going!
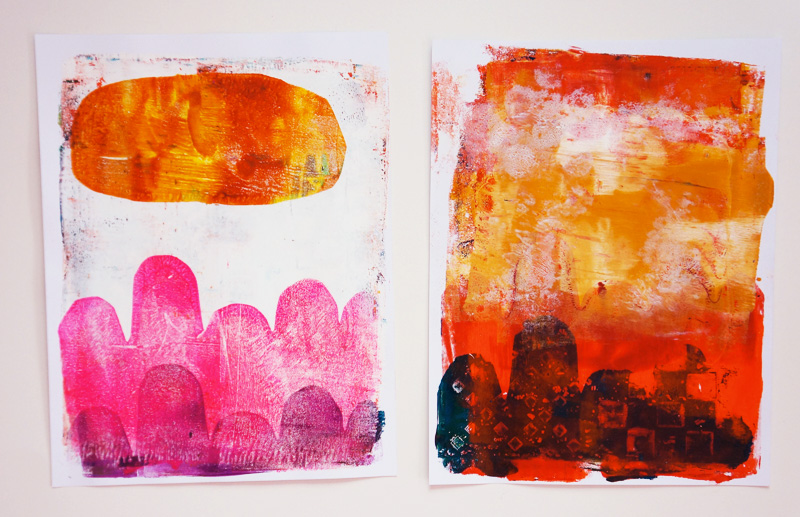
Landscapes began to emerge as I worked, layering paint and shape and color. I found myself exploring the desert under the many phases of the moon, the shapes of mountains in the distance, the deep red of sand across miles of open land. I explored shapes being repeated and what they could mean.
And all those weeks ago, I used vinyl letters to print words on my prints.
Here are my creations. They're on all different sizes of papers. They have reflections and underground layers and long views and leaves and the moon. Mostly, the moon. I hope they inspire you to begin painting with your gelli plate. I think I'll be taking a couple of these and giving them magical, animal-human beings to live in them. How fun does that sound?
(This one is from when I cleaned the plate; ghost prints layered over each other, a hazy negative...)
(I love the reflection, the purple and yellow-green above, the many layers below...)
What do you see?
What do you see in these pieces? How can you take your gelli prints further? Let me know below!
Layered Gelli Printing!
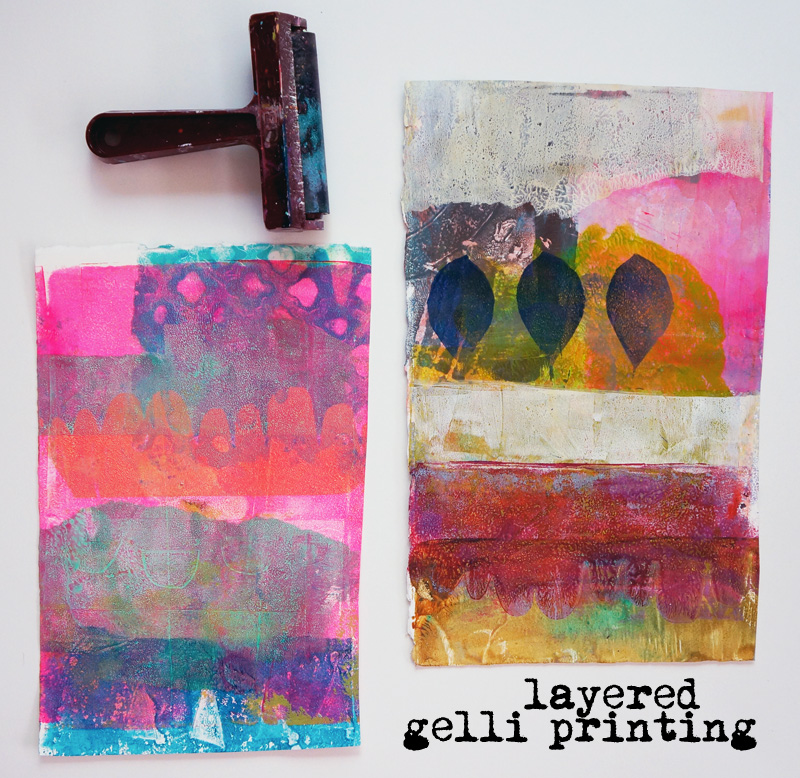
After a couple of days of a lack of painting mojo, I decided to pull out my gelli plate and play around. I knew once I got into the steady motion of spreading color, putting down stencils, and pulling up prints, I'd begin to feel myself again, inspired and calmed by this simple tool.
I knew I wanted to do something different than what I'd done before, playing more with color and shape than I did by throwing stencils down on the plate. While I've done a couple of things where I didn't print the entire page with each pass, I'd never done it across several papers, and was intrigued by seeing Jane Davis' videos of shapes on YouTube and Carla Sonheim's blog posts (I've since taken her class...I have one video left to watch, but highly recommend it if you're into more artistic prints, like me).
I cut a lot of my own stencils & used a couple by StencilGirl (they're hosting a giveaway over there, where you can win a gelli plate & stencils...go enter now!) . I wanted to use them differently, and tried a couple new things as I layered and layered paint.
Usually I print on cardstock -- it's plentiful and cheap, in case I make a print I don't like. And that's the mindset I had...that I'd just put down paint and random stencils and see how things came out. I see now that was a narrow view, and left a lot more to chance than I was comfortable with. While I'm all for intuitive art, and often paint without a destination in mind, I have learned skills and style to help guide me.
This time, however, I spied a sheet of Arches hot press watercolor paper I'd found at Michael's on clearance (check your local store; it was 50% off!) and decided to cut it down to letter-sized sheets to try on the gelli plate. It made a huge difference! I was able to pick up so many more prints from each plate of paint, and was able to use more water to create watercolor-like layers at the very end.
I won't be using cardstock again! It's watercolor paper from now on!
Here are a couple of things I learned/loved:
- Instead of working on 2-3 pages at a time, it's more fun (and efficient) to work on about 6.
- By pulling parts of the plate instead of the entire plate with each pass, you can get many, many more prints from each application of color. For these, I only did each color once and was able to spread it across several pages.
- It's more fun to use cut stencils/bought stencils as a texture element than print through them.
- Adding glazing medium or GAC 100 extends your paint and makes layers into glazes. YUM!
- Mixing a earth color with a bright color = brilliant.
There's a bunch more, and I could probably write a whole blog post on each of those bullet points, but yum, I am in LOVE with the prints I made over the past two nights! They're vastly different than what I've made before and feel more organic, vivid, and just....arg! I wish I had a word for how HAPPY I am seeing these beautiful things I've made!
I'm thinking of putting a couple up in my Etsy shop; still deciding if I can part with any of these!
Here are the rest of them! (My fav remain those in the header image up there!)
And me at work!
BTW, I've been posting these little <1 minute videos on my Facebook page & Twitter account as a "check in" to share what I've been working on and ask you what you're up to. They're really fun to make, and are informal little things inspired by the new video feature on Instagram; am considering posting them here, or putting them together for a weekly thing....I don't know yet! Just know that they're there!
Hi There! (and a bunch of art journal pages)
Oh, it feels so good to dive into my journal again! While working in my digital art journal is fantastic and fun, I still adore the feel of an art journal in my hands, my fingers running over the textures, the way media can be unpredictable when mixed. I really wanted to play with my new Pan Pastels, but found myself grabbing more and more favorites as I sat down to create. Working on pages with a paper background and one made with my Gelli Arts gel plate, I got into the groove of simple creation -- of not over-thinking, just letting my instincts and mind guide my hand.
One thing I am committing to this year is to take better pictures, and more in-progress shots. I set up a little photography station in my studio space to test out lighting, and took a bunch of practice shots -- and they came out great, so you can see a little of my progress from yesterday! These journal pages are still unfinished, but getting close to completion. The girl above was drawn from blots of paint that formed her wild hair, and I focused on emotion and shape rather than technical skill or drawing out arms, shoulders, etc. One thing I've learned from working digitally is to loosen up, to engage my imagination, and trade detail for emotion.
Materials used: Stabilo Pencil, Pan Pastels, Journal Girl Stamps, Hand Carved Stamps, Washi Tape, Molotow White Paint Pen, Versa Mark stamp pad, Gelli Arts Gel Plate, Pam Carriker Stamp, Black Gelly Roll pen, Crafter's Workshop harlequin stencil
I also worked on this. Going to CHA (which I will recap tomorrow for you....as I'm still getting my thoughts together!) really exposed me to a lot of awesome mixed-media ideas I probably would have scoffed at a couple years ago as being too "scrapbooky." But I'm really loving some of the new products out there, and want to adapt them for use in my journals. I rarely take self-portraits or let people take pictures of me, something that was pointed out while I was in California, so I decided to make a little page just for me.
It's time to Live My Adventure. Oh, so much has come from my trip, and this is just the beginning.
Materials used: Amy Tangerine Thickers, Washi Tape, silver embroidery floss, tag, new colored Scotch Tape (thanks, 3M!), Gimmie Glam i-Rock tool (thanks, too!), Teresa Collins paper, Miss Caroline paper, gold Color Box ink pad, Crafter's Workshop stencil, and a nice complicated art journal background!


