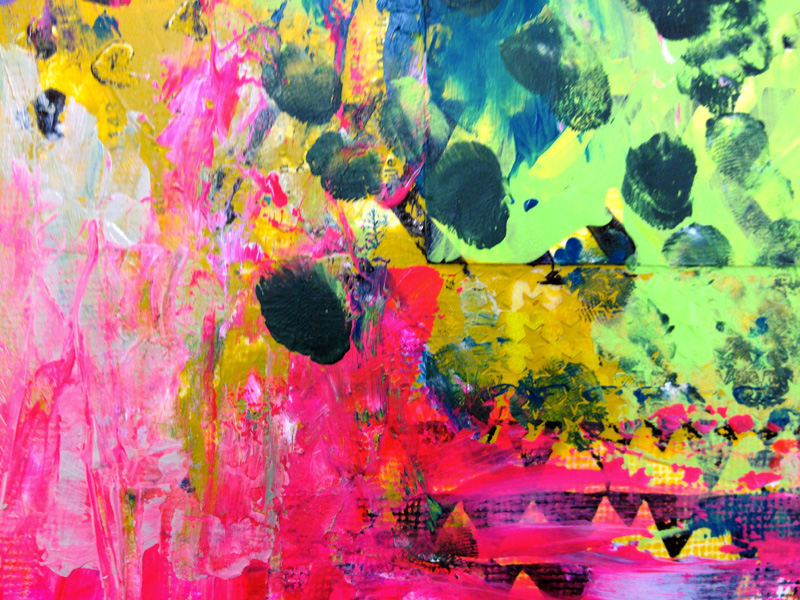
I think seeing the finished product -- whether it's a journal page or painting -- is great and inspiring, I've been obsessed with documenting my process.
Earlier this week, I picked up Austin Kleon's new book, Show Your Work. To think it took a book to help me figure out how to show my process seems a little silly, but Kleon's a master at distilling complex ideas into simple chapters that become a roadmap to invigorating creativity.
By doing a little, every single day, your work quickly adds up. I draw and write every day in my Red Storybook, and have already filled an entire sketchbook with my quiet truths and vulnerability laid out on the page. The sketches may be complicated or terrible, but doing one every day has helped me nurture that side of me -- the side that wants to draw illustrations and paint with gouache.
Anyway, in an effort to not only track my own progress and create a searchable diary as I grow as an artist, but to share the behind-the-scenes workings of an artist, I'll be blogging every day, except Sundays. Less tutorials, and more inspiration, influences, process, and techniques I've discovered or created. I don't want to show you how to copy what I do, rather, I want to inspire you to go out and do art that is true to your own heart.
You can sign up to get my blog entries via email over on the sidebar. And I'll soon be linking up my Tumblr to use as a digital scrapbook of art and photography and comics and whatnot that I'm finding awesome at the moment (I know a lot of people use Pinterest, but I've found a great community on Tumblr, and cover the intersection of disability & art a bit more there).
So here it goes!
I recently stumbled upon the artwork & creations of Kimberly Hodges, aka Goldfish Marmalade.
I love exploring new color palettes in my art journal as I work, and was captivated by her combinations of yellows, olives, and oranges, along with delicate pink flowers and aqua whales. I'd reblogged these placemats last week, and pulled them up yesterday when I went in to do a little painting.
Delicious, right?
I tried to follow her colors, but had to alter them a little bit, since I'm not a huge fan of yellow, in general. The dark green/teal, however, has been a new color to fall in love with, & I've been using it on a lot of journal pages lately.
First, I had to prep my surfaces.
I usually just put on some bouncy, upbeat music and start gluing down collage material, stamping with my hand-carved stamps, and randomly making marks with paint markers.
I did something a little different this time, though. Instead of thinking up poses on my own, I grabbed a fashion magazine and flipped through until I found images I liked. I wanted to show you, also, that you don't have to perfectly copy a reference image....interpret them through YOUR style and allow them to influence shape and form. Are these amazing drawings? No. But they're how I like to draw, lately (with the thought that I'll fill in the facial features at some later point, except find that they're incredibly expressive as is).
I also roughed in their hair with some Distress Stains. I've found that, with the backgrounds being random and the colors I add being SO fragmented, that the shapes of the girls can get lost. So I figured this may help them remain strong silhouettes.
Of course, I work at the same time on canvases. The journal pages are supposed to catch extra paint, but end up being focused on just as much as the paintings!
And there is before and after! A LOT of stuff gets covered up as I work. Sometimes, I let background elements show through, and sometimes, I keep adding layers until I fall in love with the canvas. I adore this little 8"x8" painting (which is available as part of my garden series!).
And here's how the journal pages turned out! If you could see me, you'd see me swooning! I just...I can't believe how much I love what I'm painting lately....I've never been this in love & excited before!
...but not everything works out. I kept layering on this canvas and just couldn't get into the right flow. The colors weren't working, the shapes weren't helping, and I started getting frustrated. And that's okay! I know that I can come back later and start painting and still create something wonderful. Just scrape off any wet paint and leave it for another day....
Here's my worktop with drying paintings & a couple of finished ones. And of course, my giant journal catching leftover paint!
I don't do this much every day -- maybe twice or three times a week if I'm lucky, but it fuels everything else I do. This picture makes me happy....I finally am falling into my own style and colors and it's so effortless and hard to do at the same time.
This post got a little long, but I hope it showed you something inspiring! It'll take me a couple of weeks of showing my work to get the hang of it...and I hope you stick with me!


